Pavers are one of the most durable materials available for installing outdoor kitchens or laying driveways and walkways. The installation of pavers properly can withstand far more weight and wear than blacktop, and they are more structurally strong than concrete.
Pavers don’t become as muddy or dusty in wet or dry weather since they instantly release water into the soil, especially permeable pavers. Also, pavers won’t shatter the way concrete does since they are flexible.
Step-by-Step Guide: How To Prep for Pavers
Getting a few basics done correctly is important, regardless of whether you’re paving a big space or just doing a small DIY project.
Step 1: Deciding which areas and pavers to pave
Pavers can be used for patios, entertainment areas, driveways, pathways, stairs, and pergolas—anywhere you desire a hard surface finish. There are more than 100 colours and several paver styles to pick from. You can consult professionals for insightful guidance and observe directly how pavers are put on sizable display boards and in combination with fascinating landscape components.
Step 2: Prep the Ground
Make sure your appropriate sand sub-base is at least 50 mm thick and clear of roots and debris.
The sub-base needs to be roughly levelled and then forcefully compacted using a manual or mechanical compactor.
For most residential applications, hand compaction is enough for laying pavers. For car traffic areas, pavers should be laid using mechanical compaction.
Step 3: Spread the Sand
To ensure they are level, just place two runner boards—either metal or timber—on level sand and check their levelness using a spirit level and the notched screed board.
Sand should be loosely spread over the area enclosed by the runner boards. High places should be filled in and low spots should be removed using the notched screed board on the running boards.
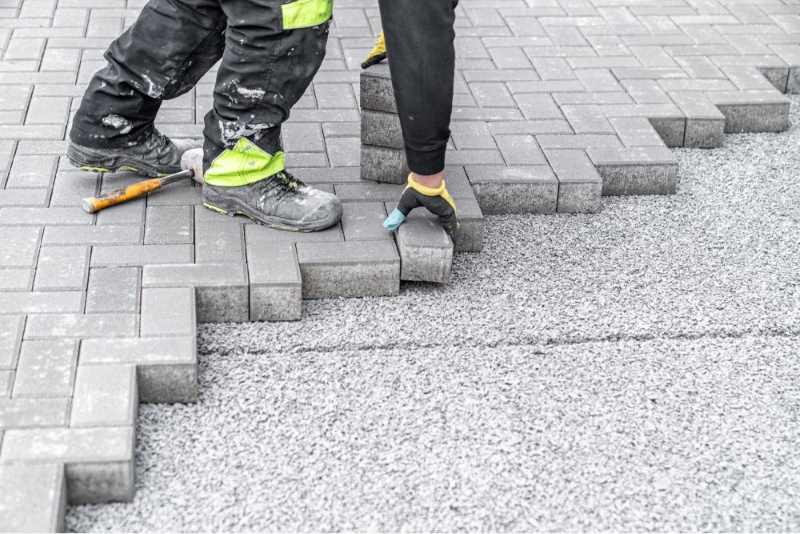
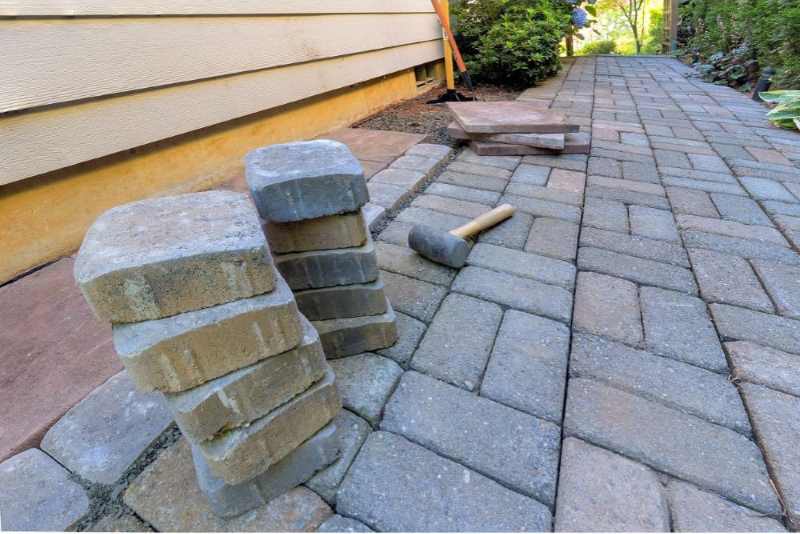
Step 4: Laying the Pavers
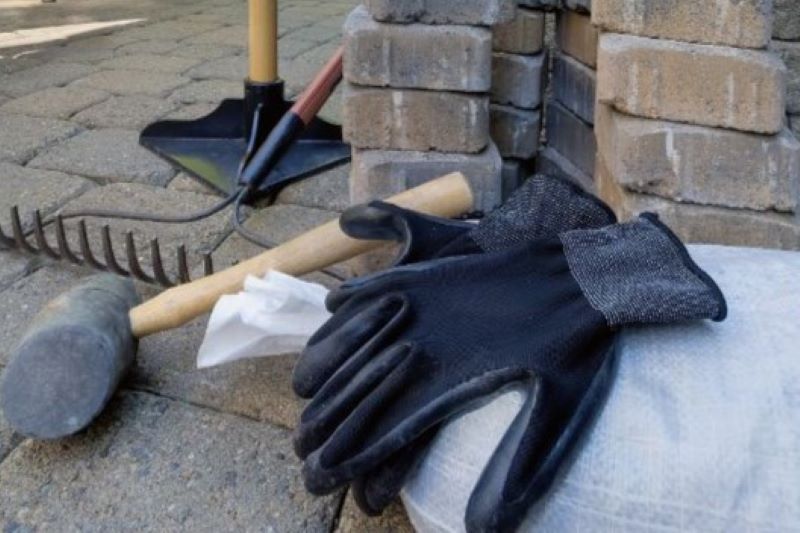
Using a rubber mallet or hand tamper, carefully set each paver onto the sand and tap it into place. You might want to experiment with some of the many pavement patterns available but bear in mind that some are more difficult than others.
Make sure there is a 2–5 mm space between each paver for “sand filling.” Pavers might crack if they don’t have enough room to expand and contract with temperature fluctuations.
Step 5: Cutting Pavers
There will be areas as you work that are too small to fit a full paver. You must cut a paver to size to fill these holes. Simply measure the paver and cut where necessary. After that, you can use a wet saw to make the necessary cuts. Like the complete paving units, the chopped piece should fit precisely and have a small gap around it. Don’t forget to use protective glasses.
Step 6: Placing Edge Restraints
Pavers will be locked in place at the edge by the edge restraint. These edge pavers could become loosened and move out of place if they weren’t restrained. The buried concrete kerb is among the most straightforward edge constraint construction methods. Along the edge of the paving, dig a trench. It has to be further into the roadbase than the sand that is bedding it. After that, the concrete gets pressed against the pavers with a shovel, leaving enough room for turf and soil.
You can plant grass up to the paving edge and cover this kerb with soil after it dries. To avoid compaction in the next step, make sure the concrete does not extend beneath the pavers. Avoid getting concrete on your pavers’ surface as it is nearly hard to remove. If so, wipe it off with a sponge right away.
Also, before compacting, let the edge constraint set for the entire night.
Step 7: Compaction and Joint Filling
Using a plate vibrator or compactor machine to compact the bedding sand is the most efficient method for securing the pavers in place. Ensure that the carpet beneath the compactor is in place. However, physical compacting with a rubber mallet, a decent hardwood piece, and a little bit of sweat will work wonderfully for tight spaces. Apply a layer of gap or joint-filling sand to the pavers before starting to compact them. This minimises scratches and facilitates smooth plate sliding.
As it happens, you’ll be doing three things. First, the sand is compacted into a solid base for your concrete pavers. Second, the vibration pushes the sand up into the spaces between the pavers, locking them in place and preventing them from moving. Thirdly, to further obstruct the pavers, sand will be used to cover the gaps or joints between them. Also, this creates the space between pavers that the manufacturers recommend.
Step 8: Sweep the Joint Fill Sand
Finally, use a broom to remove any extra sand from the paved area. At this point, you might want to give it a quick rinsing.
Summary
Pavers elevate the whole property and give your outside design a deeper meaning. It’s also not hard to build. Now you know how to prep for pavers with proper direction, you can complete it in a day with perfect conditions. Sand, gravel, time, and perhaps a broom is all you’ll need.
Before laying your pavers, make sure your base is sturdy. Put your pavers in the right places. There are also many choices for paver patterns to choose from.